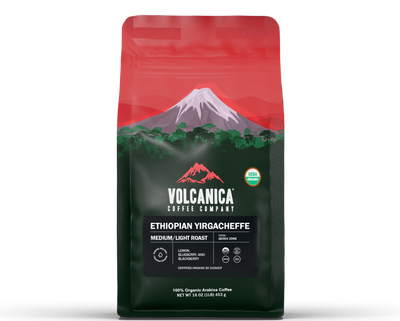
Ethiopian Yirgacheffe Coffee is a unique USDA organic coffee with a complex origin and truly exotic flavor with pleasant acidity. Yirgacheffe is a coffee region in southern Ethiopia that produces distinctively floral and fruit-toned coffees from traditional varieties of Arabica long grown in the region from wild coffee trees.
Sumatra Mandheling Coffee is a rare Indonesian coffee that is delightfully smooth with a rich, heavy body, low acidity, exotic flavor with an intense syrupy aftertaste, and earthy richness. Rated a low acid coffee due to the lower acidity.
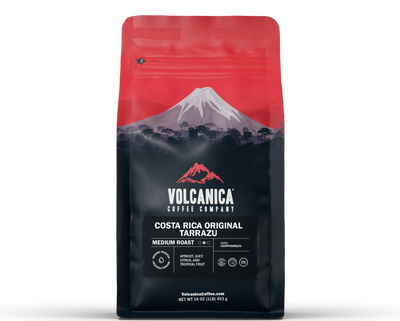
Costa Rica Coffee is grown at high altitudes on volcanic soil, where the cherries ripen more slowly, which gives it a rich and hearty flavor. This single-origin Tarrazu Estate Costa Rica Coffee, known as one of the finest in the world, is master roasted to medium color to preserve the naturally full, elegant, and rich flavors.
Brazil Coffee is an estate coffee from the Minas Gerais region. It has an amazing taste with hints of sweetness, chocolate notes, balanced acidity, and a pleasantly clean taste.
Ethiopian Yirgacheffe Coffee is a unique USDA organic coffee with a complex origin and truly exotic flavor with pleasant acidity. Yirgacheffe is a coffee region in southern Ethiopia that produces distinctively floral and fruit-toned coffees from traditional varieties of Arabica long grown in the region from wild coffee trees.
Sumatra Mandheling Coffee is a rare Indonesian coffee that is delightfully smooth with a rich, heavy body, low acidity, exotic flavor with an intense syrupy aftertaste, and earthy richness. Rated a low acid coffee due to the lower acidity.
Costa Rica Coffee is grown at high altitudes on volcanic soil, where the cherries ripen more slowly, which gives it a rich and hearty flavor. This single-origin Tarrazu Estate Costa Rica Coffee, known as one of the finest in the world, is master roasted to medium color to preserve the naturally full, elegant, and rich flavors.
Brazil Coffee is an estate coffee from the Minas Gerais region. It has an amazing taste with hints of sweetness, chocolate notes, balanced acidity, and a pleasantly clean taste.
[Video Guide] ULTIMATE Moka Pot Recipe: The Secret to Great Coffee
08.24.2025
9 MIN READ
The humble Moka Pot, a classic Italian stovetop brewer, is often misunderstood and misused—leading to bitter, unpleasant coffee. In this video, Lizzy breaks down the small yet powerful adjustments that make a world of difference in flavor. From grind size and water quality to preheating and brewing technique, these practical tips will help you unlock the true potential of your Moka Pot and elevate your morning ritual.
FAQ: Common Moka Pot Brewing Questions
Q: Why does my Moka Pot coffee taste bitter? A: Overheating, poor water quality, or grinding too fine can cause bitterness. Using filtered water and preheating prevents this.
Q: What grind size is best for Moka Pot coffee? A: Medium-fine, similar to table salt. This ensures smooth extraction without clogging.
Q: Should I tamp Moka Pot coffee grounds? A: No. Tamping blocks water flow and leads to over-extraction. Just fill and level the basket.
Q: What beans should I use? A: Medium to dark roasts highlight chocolatey, nutty flavors that pair beautifully with stovetop brewing.
Q: Do I need filtered water? A: Yes. Since coffee is 98% water, filtered or bottled water significantly improves flavor and protects your Moka Pot from mineral buildup.
Q: How do I stop over-extraction? A: Brew on low heat, remove at the first splutter, and cool the pot under cold water.
Q: How do I clean my Moka Pot? A: Rinse with hot water only—no soap or dishwasher—to preserve the seal and flavor.
Understanding the Moka Pot
The Moka Pot, a staple of Italian coffee culture, uses steam pressure to push hot water through coffee grounds, producing a bold, rich brew. While many home brewers struggle with bitterness or uneven results, mastering the process is surprisingly simple.
Choosing the Right Beans for Your Moka Pot
The secret starts with your coffee beans. Medium to dark roasts bring out the chocolate and nutty notes that shine in a stovetop espresso-style brew. For example, Sumatra Mandheling Reserve Dark Roast pairs perfectly with the Moka Pot, delivering a bold yet smooth cup.
The Importance of Grind Size
Grind size is critical. Aim for a consistency like table salt—medium-fine. Too fine, and you’ll clog the filter; too coarse, and your coffee will be weak. If you don’t own a grinder, ask your roaster for a “Moka Pot grind.”
Water Quality & Preheating: Small Details, Big Impact
Since coffee is mostly water, poor tap water can ruin the brew. Filtered or bottled water enhances taste and prevents mineral buildup. Another game-changer? Preheating your water. This reduces brewing time, prevents burnt flavors, and produces a smoother cup.
Brewing Technique: Avoiding Bitterness
Keep the stove at medium-low heat—never let flames wrap around the pot.
At the first sputter, remove from heat to stop over-extraction.
Stir the brewed coffee in the top chamber to blend the strong and weak layers for an even taste.
Cleaning & Maintenance Tips
Keep your Moka Pot in prime condition by rinsing with hot water only—no soap, no dishwasher. This protects the rubber seal and ensures your coffee always tastes fresh.
Final Thoughts: Transform Your Morning Ritual
Brewing with a Moka Pot is more than just making coffee—it’s a ritual. With the right beans, grind size, and technique, you can turn a bitter experience into a smooth, delicious cup. Once you master these simple tweaks, your Moka Pot will become one of your favorite ways to brew coffee at home.
Full video transcript:
"For most of my life, I was making coffee with a moka pot wrong. It was bitter, disgusting, and most of the time ended up down the sink. I never knew that a few simple tweaks in your moka pot technique could be the secret to unlocking a world of flavor and delicious brews.
So, dust off your moka pot that's hidden away at the back of a cupboard, because today we're diving deep into the art of moka pot brewing. By the end of this video, you'll be a master brewer and know all the secrets to making the most delicious coffee with a moka pot.
Welcome back! I'm Lizzy, and I'm all about helping you make better coffee at home. If you're new here and want to learn more about making delicious coffee, then hit the Subscribe button for the latest videos. But this isn't just about brewing coffee—it's about transforming your morning ritual. And the best part? It's surprisingly simple.
Let's demystify our moka pot, this classic Italian...
The brewer is a symbol of timeless coffee tradition. It works on a principle of pressure and steam. That might sound complex, but it's actually pretty straightforward. The magic happens when water in the lower chamber heats up, building pressure that pushes through the coffee grounds, creating that rich, robust flavor that we all crave.
There are only a few steps to making a delicious pot of moka coffee, but the big changes lie in the small details.
Gather our brewing essentials: water, coffee beans, a grinder, and your moka pot. Think of these as the key ingredients to a culinary masterpiece.
The secret? Freshly ground beans. Choosing coffee beans can feel like navigating a maze, but let's simplify it. For a delicious moka pot coffee, medium to dark roasts are your friends—bringing out those beloved chocolatey, nutty notes.
And today we've got a special treat: Sumatra Mandheling Reserve dark roast beans, perfect for the moka pot. We've currently got 20% off these and some other delicious coffees. Just use the promo code on screen and click the link in the description.
Grind size is where the big transformation happens. You want a grind that's just right. Think table salt: not too coarse, not too fine. This ensures a perfect extraction, giving you that strong, flavorful cup without the risk of over-extracting or clogging.
And if you don't have a grinder—no worries. Just request a fine grind from your coffee roaster. But remember: not espresso grind. We're going with a three on the Fellow Ode Brew grinder. You want the coffee to look something similar to this.
When filling the moka pot's filter, remember tamping is a no-go. It can obstruct water flow and lead to uneven extraction. Just fill and level it off.
Here's a game changer that's often overlooked! Water quality makes up the majority of your drink, so if you've got bad water, you're not going to end up with the best brew. But you'll be surprised to know it's not just about taste—it's about honoring your moka pot.
Not only does using filtered or bottled water take your coffee from average to delicious, but it keeps your moka pot in top shape, avoiding mineral buildups from tap water. You can pick these up relatively cheap. And since I've been using filtered water, like this here, I've noticed a big difference.
Now, here's a simple trick with big results. This made a huge difference to my brews: start with preheated water. I've been super lazy with this in the past, but there's a very good reason for doing it.
It reduces the brewing time, preventing bitterness and ensuring a smoother cup. All that time the water's heating up, the coffee beans are heating up too. And that extra heat can end up scorching your beans.
It's just a small change, but it makes a big difference. Just make sure to be careful when handling the moka pot at this point. It's not insulated, so use a tea towel or some oven gloves—or you'll burn your hand, which I unfortunately know from personal experience.
Here's a crucial tip: prevent boiling at all costs. A coffee boiled is a coffee spoiled. Keep your stove on a medium to low heat. So, if you're using a gas hob, make sure the flames stay under the pot and don't wrap around the sides.
This simple attention to detail can dramatically improve your coffee's taste. God damn, Jimmy, there's some serious crema!
As soon as the coffee starts to emerge, turn your heat source down low as it goes. And at the first sign of splutter, remove it from the heat. You can run it under a cold tap at this point to stop the brewing process. This is the moment where your coffee goes from good to incredible.
The next point is something I never thought of, and it's made a huge difference to my moka pot results. The first lot of coffee to come out of the pot is very strong, and by the end of the brewing stage, it's a lot weaker.
Give your coffee a gentle stir after brewing in the upper chamber. This blends the layers of coffee. It's a quick, easy step with a big impact on your cup's quality. If you don't do this, you're going to end up with strong coffee at the bottom and weak coffee at the top.
You'll notice with a moka pot that you're going to get less coffee out than the water that you put in. Say for 280 g of water, you may get out around 200 g of coffee. This is because a fair amount of water is soaked up into the beans during the brewing process.
Let's talk cleaning—essential for keeping your moka pot in prime condition. Just rinse with hot water after each use. No soap needed. And remember: the dishwasher is an absolute no-go zone for your moka pot. It will wreck the seal, and you'll get coffee sputtering out of the middle. A little care goes a long way in...
Preserving the quality of your coffee. I encourage you to experiment and find your personal preference.
The keys to exceptional coffee, as always, are good quality water, the right beans, and perfecting your technique. I'll put a link down below to the coffee that we used today. Give it a go yourself—it's delicious, and it's absolutely perfect in a moka pot.
Don't forget to subscribe and hit the bell icon to stay up to date with the latest coffee tips. Until next time, keep brewing, experiment, and keep exploring the endless possibilities of coffee. See you next time!"
Get 10% off your first order
Join our email list for exclusive offers and the latest news.
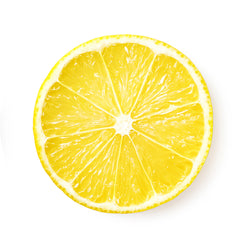 Lemon
Lemon
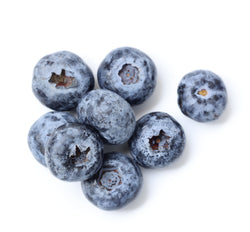 Blueberry
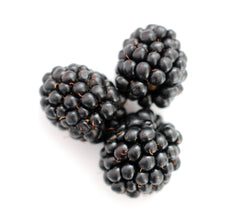 Blackberry

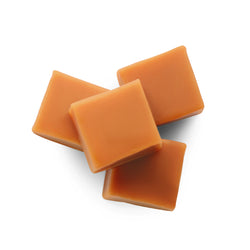 Toffee
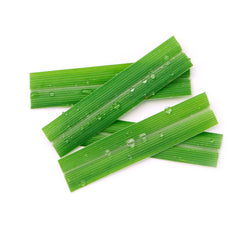 Lemongrass
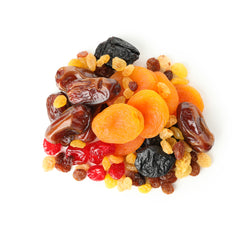 Dried Fruits
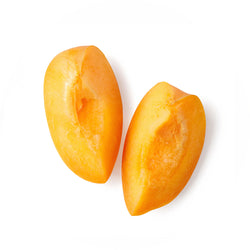 Apricot
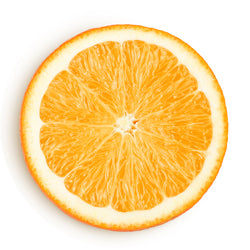 Citrus
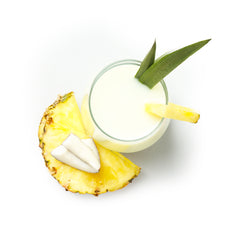 Tropical

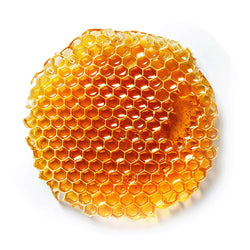 Honey
Honey
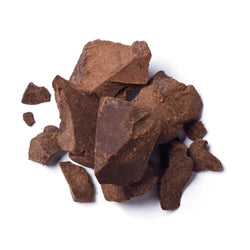 Chocolate
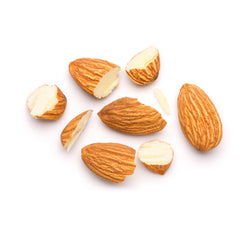 Almond

 Lemon
Lemon
 Blueberry
 Blackberry

 Toffee
 Lemongrass
 Dried Fruits

 Apricot
 Citrus
 Tropical

 Honey
Honey
 Chocolate
 Almond
