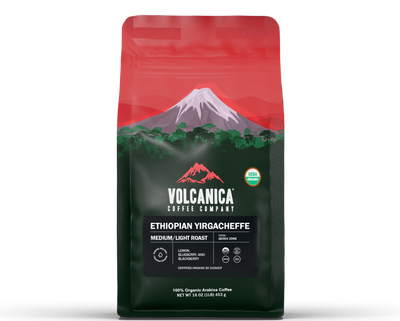
Ethiopian Yirgacheffe Coffee is a unique USDA organic coffee with a complex origin and truly exotic flavor with pleasant acidity. Yirgacheffe is a coffee region in southern Ethiopia that produces distinctively floral and fruit-toned coffees from traditional varieties of Arabica long grown in the region from wild coffee trees.
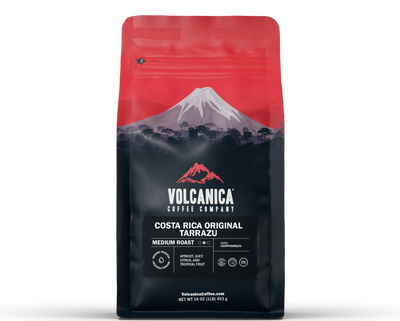
Costa Rica Coffee is grown at high altitudes on volcanic soil, where the cherries ripen more slowly, which gives it a rich and hearty flavor. This single-origin Tarrazu Estate Costa Rica Coffee, known as one of the finest in the world, is master roasted to medium color to preserve the naturally full, elegant, and rich flavors.
Sumatra Mandheling Coffee is a rare Indonesian coffee that is delightfully smooth with a rich, heavy body, low acidity, exotic flavor with an intense syrupy aftertaste, and earthy richness. Rated a low acid coffee due to the lower acidity.
Brazil Coffee is an estate coffee from the Minas Gerais region. It has an amazing taste with hints of sweetness, chocolate notes, balanced acidity, and a pleasantly clean taste.
Ethiopian Yirgacheffe Coffee is a unique USDA organic coffee with a complex origin and truly exotic flavor with pleasant acidity. Yirgacheffe is a coffee region in southern Ethiopia that produces distinctively floral and fruit-toned coffees from traditional varieties of Arabica long grown in the region from wild coffee trees.
Costa Rica Coffee is grown at high altitudes on volcanic soil, where the cherries ripen more slowly, which gives it a rich and hearty flavor. This single-origin Tarrazu Estate Costa Rica Coffee, known as one of the finest in the world, is master roasted to medium color to preserve the naturally full, elegant, and rich flavors.
Sumatra Mandheling Coffee is a rare Indonesian coffee that is delightfully smooth with a rich, heavy body, low acidity, exotic flavor with an intense syrupy aftertaste, and earthy richness. Rated a low acid coffee due to the lower acidity.
Brazil Coffee is an estate coffee from the Minas Gerais region. It has an amazing taste with hints of sweetness, chocolate notes, balanced acidity, and a pleasantly clean taste.
[Video Guide] Kalita Wave Brewing Guide: How to Master This Forgiving Pour-Over Method
09.26.2025
10 MIN READ
The Kalita Wave is a favorite among both beginner brewers and seasoned coffee pros for one simple reason: it’s easy to use while still delivering café-quality results. With its flat-bottom design and signature three-hole filter, the Kalita Wave ensures an even extraction every time. In this guide, we’ll walk you through the step-by-step process, share tips for dialing in your grind and ratio, and show you how to make adjustments to get your perfect cup.
Frequently Asked Questions:
Is the Kalita Wave better than the V60? It depends on your preference. The V60 allows for more control but requires careful pouring technique, while the Kalita Wave is more forgiving and consistent.
Do I need a gooseneck kettle for the Kalita Wave? Not necessarily. The flat-bottom design regulates flow even with a standard kettle, though a gooseneck offers more precision.
What grind size is best for the Kalita Wave? A medium-coarse grind, similar to coarse sea salt, is a great starting point. Adjust finer or coarser based on your brew time.
What coffee-to-water ratio should I use? Start with 1:16. For light roasts, use 1:17–1:18; for dark roasts, use 1:15.
Why rinse the Kalita Wave filter? Rinsing removes papery flavors and preheats the brewer for better extraction.
If you’re just getting into pour-over coffee, the Kalita Wave is one of the most approachable brewers you can choose. Unlike the Hario V60, which requires careful pouring precision, the Kalita Wave’s flat-bottom design naturally regulates flow. This makes it far more forgiving for beginners while still giving you control to experiment as your skills grow.
To get started, you’ll need a Kalita Wave dripper, filter, burr grinder, scale, fresh coffee beans, and hot water. A gooseneck kettle can improve consistency, but a standard kettle will still get great results.
Choosing Your Beans and Grind This brewer works beautifully with a wide range of coffees. For today’s brew, we’re using a Panama medium roast with notes of dark fruit, citrus, and chocolate. Light roasts often benefit from a finer grind and slightly hotter water, while dark roasts shine with a coarser grind and slightly cooler water. A grind similar to coarse sea salt is a solid starting point for most medium roasts.
Dialing in the Ratio Start with a 1:16 coffee-to-water ratio. For example, 20 g of coffee pairs with 320 g of water. Adjust this ratio to taste: use 1:15 for darker roasts or 1:17–1:18 for lighter roasts.
Step-by-Step Brewing
Heat your water to about 93°C (200°F). Use 95°C (203°F) for lighter roasts and 89°C (194°F) for darker roasts.
Rinse your Kalita Wave filter with hot water to remove any papery taste and preheat the brewer. Discard the rinse water.
Add 20 g of ground coffee to the filter and shake gently to level the bed.
Begin with a bloom: pour about 40 g of water (twice the coffee weight) over the grounds. Let it sit for 30–45 seconds to release trapped CO₂.
Continue pouring in slow, circular motions, adding about 60 g at a time until you reach a total of 320 g.
The entire brew should finish in 3–4 minutes. If it drains too fast, grind finer; if too slow, grind coarser.
Tasting and Adjusting The Kalita Wave delivers a clean, smooth cup with no sediment. If your coffee tastes bitter, try a coarser grind or slightly cooler water. If it’s sour, grind finer and use hotter water. Adjusting your ratio can also fine-tune the flavor: lighter roasts often taste best with more water, while darker roasts benefit from more strength.
Full Video Transcript:
"Today we're unlocking the secrets of the Kalita Wave, a brewer loved by coffee pros and beginners for its simplicity and consistently amazing results. It's a straightforward brewer, but I want to show you a few tweaks that can transform your beans into something truly next-level and unlock their full potential.
So, why the Kalita Wave? Unlike other pour-over methods that demand every drop be poured with precision, the Kalita Wave is all about making things easier without sacrificing flavor. Its flat-bottom design and three precision-drilled holes ensure an even, consistent extraction. And here's the best part: it's forgiving. Even if you're not a pouring pro, the Kalita Wave does the hard work for you, letting you enjoy café-level coffee with minimal effort.
Hi, I'm Lizzy, and I'm all about helping you make better coffee at home. If you want to learn more, then subscribe.
You might be thinking: pour-over, right? Do I need a fancy gooseneck kettle for this? The answer is not necessarily. While the precision of a gooseneck kettle is crucial for methods like the V60, the flat-bottom design of the Kalita Wave creates a more restrictive flow, which means the gooseneck kettle isn't as critical—making it much more forgiving than other pour-over methods. But if you're aiming for ultimate consistency in your cup, a gooseneck kettle can give you that extra edge in control. If you're serious about coffee and want to level up your brewing, it's definitely worth considering. But if you just like a good cup of decent coffee, a normal kettle will be fine.
Right, on with the brew. You only need a few tools to get that perfect cup: your Kalita Wave, a burr grinder (hand or electric will be fine), fresh coffee beans, and a scale. A scale is crucial to make sure you can finely tweak your recipes if you have any issues. While I'll be using a gooseneck kettle to enhance control, don't worry—if you don't have one, you'll still get amazing results.
Let's start by respecting the basics, because as we know, great coffee starts with great ingredients. Today I'm using a Panama medium roast coffee from Volcanica. This coffee has dark fruit, citrus, and chocolate notes that really shine with the Kalita Wave's extraction. But don't worry—this method works beautifully with any beans you have at home.
If you're going for a dark roast, be sure to grind a little bit coarser. If you're going for a light roast, go a little bit finer. This is because light roast beans are more dense, so you'll want to have smaller particles to increase the surface area and encourage the perfect extraction. I'm going to go for a 7.5 on the Fellow Opus, which gives me a grind similar to coarse sea salt.
To get that balanced, rich flavor from your Kalita Wave, start with a 1:16 coffee-to-water ratio. That's 1 g of coffee for every 16 g of water. It's the perfect base for smooth, even extraction. But here's where you can have some fun—don't be afraid to adjust the ratio to match your personal taste. The beauty of the Kalita Wave is how flexible and forgiving it is. For light roasts, you'll want more like a 1:17 or 1:18 ratio, and for dark roasts, stick with a 1:15 ratio.
Let's crack on with the method, and after I'll give you a few tips on how to adjust it if it's not quite working for you. Grind 20 g of coffee for a decent-sized single cup. The grind size should be similar to coarse sea salt. Heat your water to 93°C or 200°F. If you don't have a temperature-controlled kettle, let the water boil and then sit for about 30 seconds to reach the ideal temperature, or add a tiny dash of cold water. You can check it with a thermometer. As always, you may want to go slightly hotter for light roasts—around 95°C or 203°F—and slightly cooler for dark roasts—around 89°C or 194°F. This is because hotter water will help extract the flavors from denser light roast beans.
Rinse the filter. Place your Kalita Wave filter in the brewer and pour some hot water through it to pre-wet the filter. This gets rid of the paper taste and also preheats the brewer. Press it down and make sure it's flush to the bottom so you get a nice, even brew. Discard the rinse water.
Add the coffee. Pour 20 g of ground coffee into the Kalita Wave and give it a little shake to level the grounds.
Start your pour by adding 40 g of water—twice the amount of coffee—to saturate the grounds evenly. Let it sit for about 30 to 45 seconds. This is called the bloom, and it allows the coffee to release trapped gas. It's going to help with the extraction and plumps up the ground coffee so it's ready for when we add the rest of the water.
After the bloom, continue pouring slowly in circular motions. Add water in small increments of about 60 g at a time, aiming for an even flow. If your brew is stalling—which means it's not drawing down quickly enough—you need to coarsen your grind. Your goal is to pour a total of 320 g of water for the 1:16 ratio. The entire process should take around three to four minutes.
Some people have ideas on how much water to add at each stage, but I've not found it to make a huge difference. Just add it in slow increments. Let me know what works for you in the comments. Just keep an eye on how quickly it drips through. Remember: too fast, make your grind size finer. Too slow, make your grind size coarser.
By the way, if you want to try this or some other delicious coffees, we currently have 20% off your first subscription order. Just use the code on screen and the link in the description.
Once you've poured all the water, allow the coffee to finish dripping through the Kalita Wave. The brew should be done when the water has completely passed through the grounds. Enjoy!
Okay, so we're all done. I'm just going to remove the top and let's have a little taste. It's a great color, no sediment, perfectly smooth. Yeah—that is a solid cup of coffee. It's quite full-on, very chocolatey, well-balanced, smooth. I love having no sediment because of those filters. I think that's perfect.
The Kalita Wave is such an easy way to get really smooth results. Now, I've tweaked this recipe a bit and experimented with grind size to make sure it tastes great. But if your coffee tastes off, don't worry—small adjustments can make a big difference. If you're finding it a little bitter, try a coarser grind. If it's bitter but had a good extraction time, you could lower the water temperature. If it's sour, go finer and use hotter water.
Experiment with your coffee-to-water ratio too. Lighter roasts often shine at a 1:17 or 1:18 ratio, while darker roasts thrive at 1:15. Now that you've got the basics down, you can start experimenting to make it your own.
Click this video to learn more about light roast versus dark roast, and click this video to watch the top seven mistakes people make when brewing with a French press. Thanks for watching, and I'll see you in the next video."
Get 10% off your first order
Join our email list for exclusive offers and the latest news.
Click to zoom in furtherClick to zoom out • Drag to pan around
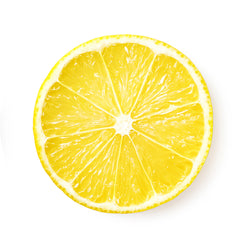 Lemon
Lemon
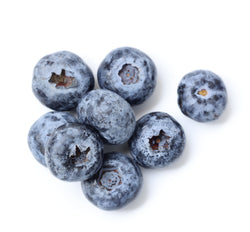 Blueberry
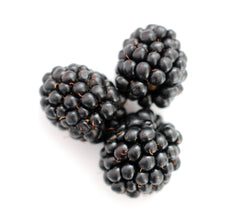 Blackberry
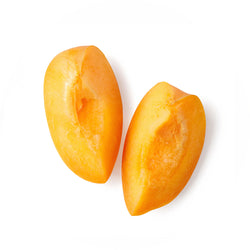 Apricot
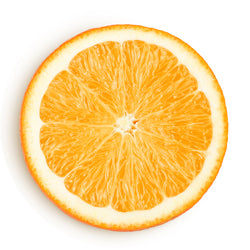 Citrus
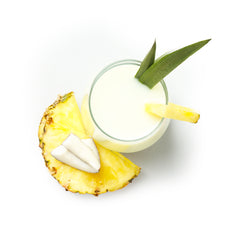 Tropical

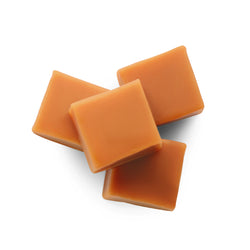 Toffee
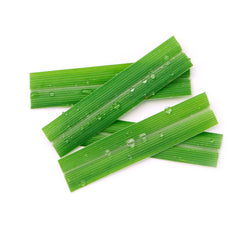 Lemongrass
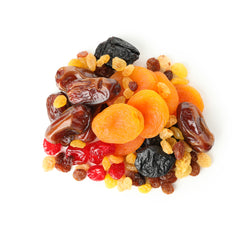 Dried Fruits

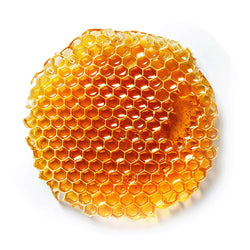 Honey
Honey
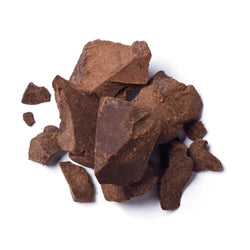 Chocolate
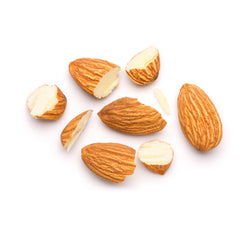 Almond

 Lemon
Lemon
 Blueberry
 Blackberry

 Apricot
 Citrus
 Tropical

 Toffee
 Lemongrass
 Dried Fruits

 Honey
Honey
 Chocolate
 Almond
