


"We’re here to talk about the humble French press—or cafetière. This is a really amazing and underrated way to make coffee, especially for a group. But there are a lot of questions out there around this simple contraption. Do I stir? How long do I leave it? Should I let it bloom? What temperature water should I use? Today we’ll be answering all of your questions and trialing three recipes to see how you can get the most out of your cup.
My name is Lizzy, and if this is our first time meeting, I’m here to help you make better coffee at home. If you want more tips on making great coffee, consider hitting that subscribe button.
There’s a lot of debate on the best way to make coffee with a French press. So we’re going to be testing three recipes to see which gives the most satisfying cup, and we’ll also look at the pros and cons of each. We’ll be looking at James Hoffman’s ultimate French press technique, Assa Christensen’s method using filter paper, and the Volcanica classic French press recipe.
There are a few things that are universal when it comes to French press coffee. Firstly, your water. You’ll want to use good quality filtered water—it makes a huge difference. If the water doesn’t taste good by itself, it’s not going to make good coffee.
Now let’s get into what you need: some good quality coffee, a kettle, some filter paper for the third recipe, a cafetière, a grinder, some scales, and your water. We’re grinding our coffee fresh today using the Fellow Ode Brew Grinder. We always recommend grinding your coffee fresh, as it gives you the best flavor and the most control.
First things first—get your water boiling. You want to do this early so it has time to cool before pouring. You’ll want to aim for around 90°C, or 195°F. The kettle we’re using has a handy thermometer built in.
James Hoffman’s recipe promises a silt- and sludge-free cup of coffee. It uses about a 1:14 to 1:17 ratio—we’ll go with 1:15, so 15 g of coffee to 225 ml of water. Grind your beans to a medium coarseness. Preheat your French press with hot water, then discard it. Add the coffee grounds, pour in 225 ml of water, and let it sit for four minutes. Stir the crust on top and skim off any foam or scum. Wait at least five minutes to let the coffee settle—the particles should fall to the bottom. Insert the plunger, but don’t plunge all the way—let it rest just above the coffee. Gently pour into a cup, using the plunger as a strainer if needed.
What I like about this recipe is the full flavor extraction. You can even leave it longer than suggested and it still tastes delicious. Plus, you end up with minimal silt. The method of letting the coffee settle and skimming off the top reduces the amount of sludge in the final cup. The only drawback is that it’s a little time-consuming—the extended brewing and settling time make it less suitable if you’re in a hurry.
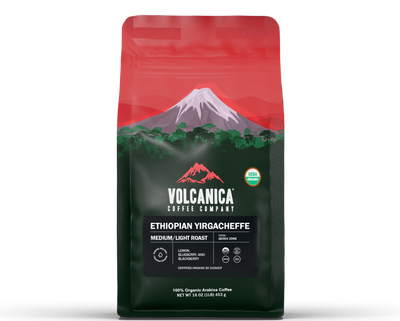
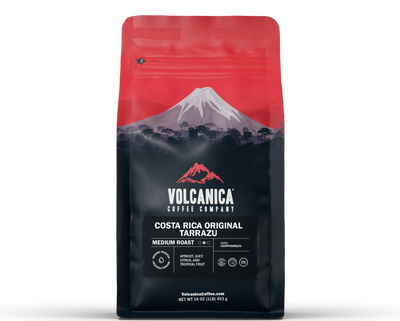
The Volcanica classic recipe uses a 1:11 ratio, which makes a strong cup. You’ll want your water between 90°C and 93°C, about 195°F. We’re using the Burundi Long Miles Farm coffee—a light roast with apple, orange, and cinnamon notes. If you want to try this coffee, we currently have 20% off your first order—just use the code on screen and the link in the description.
Weigh out 20 g of beans for 220 ml of water. Grind to a coarse setting (on the Ode, that’s around nine). If you grind too fine, you’ll end up with a bitter, filmy cup that leaves an undrinkable sludge at the bottom. Preheat your cafetière with hot water, then discard it. This helps maintain temperature while brewing.
Add your grounds, then pour the water in a slow spiral, starting in the center and moving outward until all the grounds are saturated. This is the bloom, when carbon dioxide escapes and the coffee froths up. Gently stir to ensure even saturation, then add the rest of the water. Place the filter on top, but don’t press yet. Let it steep for four minutes. When the timer is up, press down gently—you’ll feel some resistance, but it should be minimal if the grind is right. The filter will reach the bottom, leaving you with a strong, full-bodied cup.
The benefit of this recipe is that it’s quick and easy, and makes a bold cup. The drawback is that it produces more silt than Hoffman’s method. Still, it’s great for everyday use.
Assa Christensen’s recipe is unusual. He uses filter paper with a French press. I’d never heard of this before, so let’s see if it works. It calls for a finer grind—closer to what you’d use for an AeroPress—and hotter water to speed things up.
First, rinse a paper filter with hot water inside the cafetière. This preheats it as well. Remove the water. Use a 1:15 ratio, so 15 g of coffee to 225 ml of water. Grind finer than usual—about what you’d use for an AeroPress (on the Ode, that’s around four). Add the grounds, then pour in the 225 ml of water. Stir eight times to mix evenly.
Start a timer for one minute. Meanwhile, wrap the plunger with the rinsed filter paper. After one minute, stir again three or four times to break up the crust and help the grounds settle. Let it brew for one more minute. Then insert the plunger and press down slowly over 45–60 seconds. Go extra slow to avoid tearing the filter paper. Once finished, decant immediately to stop extraction.
The result is incredibly clean and transparent—no sludge at all. The flavor clarity is outstanding, since the paper filter removes oils and silt. Using a finer grind also shortens the brewing time, making it relatively fast. The drawbacks: you need filter paper, it’s a bit fiddlier, and the timings are precise. But the reward is a cup with unmatched clarity.
This one is my favorite—Christensen’s recipe—because the clean flavor is just fantastic.
We’ve covered a lot today, but the key takeaway is that the French press is incredibly versatile. Whether you want full flavor extraction, minimal silt, speed, or clarity, there’s a method for you. Just remember the essentials: always use good quality water and freshly ground coffee.
If you found this guide helpful, don’t forget to hit the subscribe button for more coffee tips and tricks. Happy brewing, and I’ll see you next time."
